You’ve probably seen images online with watermarks on them. Some of them are very blatant, some are far more unobtrusive. In this tutorial, I’m going to show you how to add a subtle digital watermark in Photoshop.
I’m using my own image from the website for my fiction pen name – you can easily use your own!

All you need is Photoshop – and some images.
Let’s get started on your digital watermark!
Go ahead and open Photoshop. Head to File and then New.
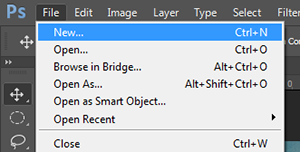
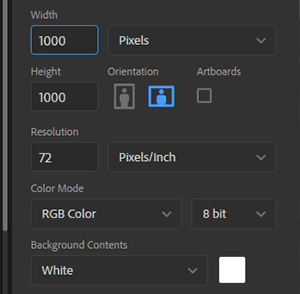
Now we’re going to make a new image. The size doesn’t really matter because we’re going to be making a brush from the result. But make it at least 1000px wide.
Now get the Type tool. I’m using the copyright symbol (©) and my photographer/fiction writing pen name.
So I pressed Alt and 0169 on my numeric keypad to make the copyright symbol. Then I just typed my name in my brand font. In my case, it’s UglyQua.

Now we’re going to turn this into a brush. That’s going to let you just stamp your text onto each image as required. It’ll save you typing it over and over! And this is the start of your digital watermark.
Now go to Edit in the top menu bar and choose ‘Define Brush Preset’.
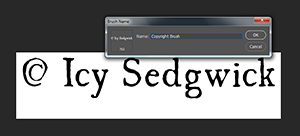
You’ll get a little preview of what it’ll look like. Because it’s black on white, your brush will have a transparent back.
Give it a name if you want, and hit OK.
Now we’ll apply your watermark.
So now go ahead and open the image you want to add a digital watermark to.

I’m using an image I took of the Millennium Bridge in Newcastle upon Tyne.
Create a new layer and rename it ‘Watermark’. The new layer icon is the second from the right at the bottom of the Layers panel. You need that new layer so you can blend the digital watermark with the image below.
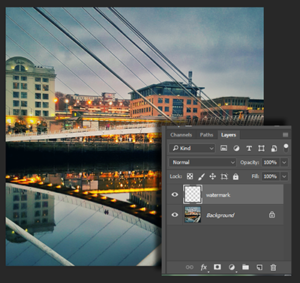
Now access the paintbrush icon in the toolbox on the left. Find your brush in the brush preset picker in the top menu bar. If your brush was the last thing you made, it’ll show up straight away.
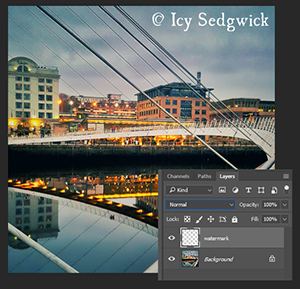
Check the brush settings are at ‘Normal’ and 100% opacity. I’ve chosen white but this also works with black (depending on the background of your image).
Just use the brush like a stamp and click once on your image wherever you want the digital watermark to appear. Use the [ and ] keys to make the brush larger or smaller.
Use the Move Tool if you want to move it around once you’ve made the watermark.
Once you’re happy, find the bar saying ‘Normal’ in the Layers panel. Click on it and choose ‘Soft Light’ from the blending mode option.
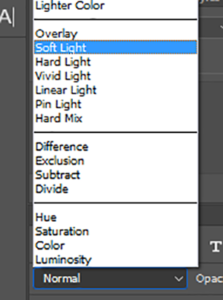
This will blend your digital watermark with the image below. It makes it less obtrusive.

And here’s your final image! You can alter the opacity in the opacity bar to make it less transparent if you want a more subtle effect. Just drag the slider to the left, or type in a new value.
So there’s your digital watermark, ready to use!
Let me know if there’s something else you’d like to know in Photoshop. Or you can find out how to boost your colours in Photoshop too.


